
10 月 . 03, 2024 16:52 Back to list
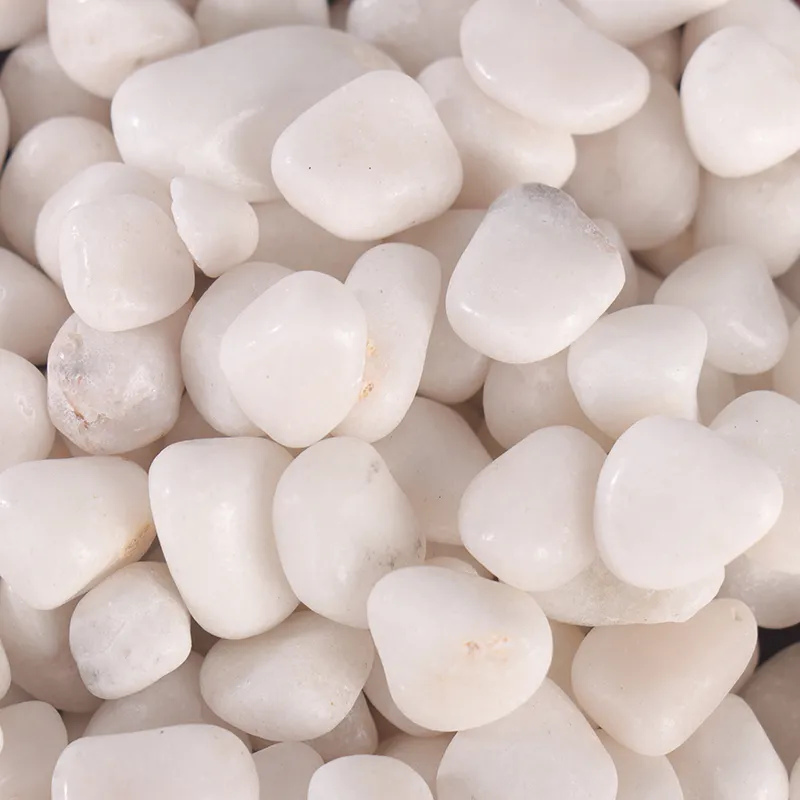
laying cobbles on concrete
Laying Cobbles on Concrete A Step-by-Step Guide
Cobbles have long been a favored choice for paving, not only due to their aesthetic appeal but also for their durability and resilience. If you’re considering enhancing your outdoor space or driveway, laying cobbles on a concrete base can provide a stunning and robust surface. Here’s a detailed guide on how to achieve this.
Preparation and Materials
Before diving into the process, gather all necessary materials and tools. You will need cobblestones (natural stone or concrete), a suitable concrete mix if you're laying a new base, a trowel, a rubber mallet, a level, a broom, and jointing sand. Ensure your work area is clean and free of debris for the best results.
Step 1 Establish a Base
If you are starting from scratch, the first step is laying down a solid concrete base. This base should be at least 4-6 inches thick and allowed to cure properly for about a week, depending on the weather conditions. Make sure the concrete surface is level and free of cracks. If you’re working with an existing concrete surface, ensure it’s clean and in good condition.
Step 2 Planning the Layout
Before installing cobbles, it’s crucial to plan your layout. Decide on the design pattern you’d like to achieve, whether it's a straight layout, herringbone, or another design. This planning phase can help you visualize the final outcome and minimize errors during installation.
laying cobbles on concrete

Step 3 Begin Laying the Cobbles
Start from a corner and lay the cobbles down, using your level to ensure they are even. As you place each stone, use a rubber mallet to tap them into position, ensuring they are tight against each other to avoid gaps. If your design includes cuts or angles, use a masonry saw to achieve the desired shapes.
Step 4 Filling Gaps
Once all the cobbles are in place, sweep jointing sand into the gaps between the stones. This not only adds stability but also helps to prevent weeds from growing through. After sweeping the sand into the joints, lightly mist the surface with water to help the sand settle.
Step 5 Finishing Touches
Finally, inspect the entire surface for any uneven stones that might require adjustment. You can add a sealant if desired, especially for natural stone cobbles, to enhance their appearance and longevity.
Conclusion
Laying cobbles on a concrete base is a practical and visually appealing method to create a durable outdoor surface. With careful planning and attention to detail, you'll not only beautify your space but also enjoy the long-lasting results of your hard work. Whether it's for a driveway, patio, or pathway, cobbles can transform any area into a charming outdoor retreat.
-
Tumbled Nephrite Jade in Feng Shui: How to Attract Balance and Prosperity
NewsOct.18,2024
-
Nephrite Jade in Home Décor: Bringing Earthy Elegance to Your Living Space
NewsOct.18,2024
-
How to Spot Authentic Tumbled Nephrite Jade: A Buyer’s Guide
NewsOct.18,2024
-
Healing Properties of Tumbled Nephrite Jade: A Look into Ancient Wellness Practices
NewsOct.18,2024
-
Ethical Sourcing of Nephrite Jade: Ensuring Sustainable and Fair Trade Practices
NewsOct.18,2024
-
Caring for Your Tumbled Nephrite Jade: Maintenance Tips for Longevity
NewsOct.18,2024